Install with Docker
For an easy deployment, you can use the shipped Dockerfile coming with the repository.
Contents
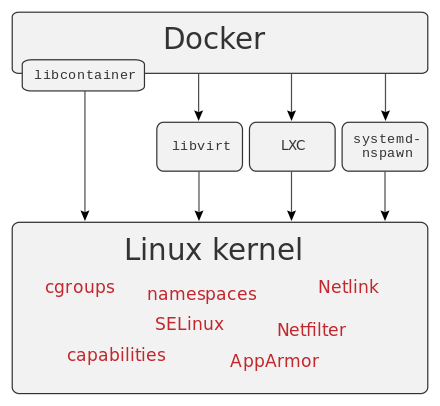
Docker is a computer program that performs operating-system-level virtualization. It uses the resource isolation features of the Linux kernel to allow independent containers to run within a single Linux instance, avoiding the overhead of staring and maintaining virtual machines.
Docker will perform all the heavy lifting of virtualization and running the IoT-Testware including Eclipse Titan. Therefore, an installed and functioning Docker is the only prerequisite.
Note
Although, it is possible to run Docker containers on different operating systems, Docker’s host networking driver only works on Linux hosts. Hence, it is recommended to run the Docker containers on a Linux machine.
Preparations
Make sure you have a working Docker installation
(optional) Set the following environment variables
TW_CONTAINER_NAME=iot_testware
TW_NETWORK_NAME=iottestware_net
TW_SUBNET=172.18.0.0/16
TW_FIXED_IP=172.18.0.4

TW_VOLUME_NAME=testware_volume
TW_VOLUME_PATH=/home/titan/iottestware.webserver/backend/resources/history
(optional) Create separated Docker network
docker network create --subnet $TW_SUBNET $TW_NETWORK_NAME
docker network ls
(optional) Create persistend storage and docker volumes
docker volume create $TW_VOLUME_NAMEBuild the Docker container
docker build -t $TW_CONTAINER_NAME .
Additional Docker commands
Stop all running container
docker stop $(docker ps -aq)
Delete all containers
docker rm $(docker ps -aq)
Delete all images
docker rmi $(docker images -q)
Force delete a specific image
docker rmi -f <IMAGE_ID>
open second bashwindow
docker exec -it <CONTAINER_ID> /bin/bash
Start Docker container
Docker offers many options for starting and integrating containers. In this section we will show how the container can be started with persistend storage and how to attach the container to the previously created sub-network. Read the Docker networking overview for more information.
- Most basic way to start a Docker container without persistend storage and using the host’s network interface
docker run --network host $TW_CONTAINER_NAME
- Isolated Docker container which is attached to the sub-network with a fixed IP and without persistend storage
docker run --network $TW_NETWORK_NAME --ip $TW_FIXED_IP $TW_CONTAINER_NAME
- Using host’s network interface and with persistend storage
docker run --network host -v $TW_VOLUME:$TW_VOLUME_PATH $TW_CONTAINER_NAME
- Isolated Docker container which is attached to the sub-network with a fixed IP and with persistend storage
docker run --network $TW_NETWORK_NAME --ip $TW_FIXED_IP -v $TW_VOLUME:$TW_VOLUME_PATH $TW_CONTAINER_NAME
Run the Dashboard
Note
This step requires that you have used the Dashboard Docker file
Once everything is correctly deployed and started you can access the IoT-Testware Dashboard from your browser. Dependent on you network configuration simply open one of the following URLs in your browser:
- If you used the host network for the container:
https://localhost:3001 - If you deployed the container with a custom network and given fixed IP:
https://$TW_FIXED_IP:3001
Useful